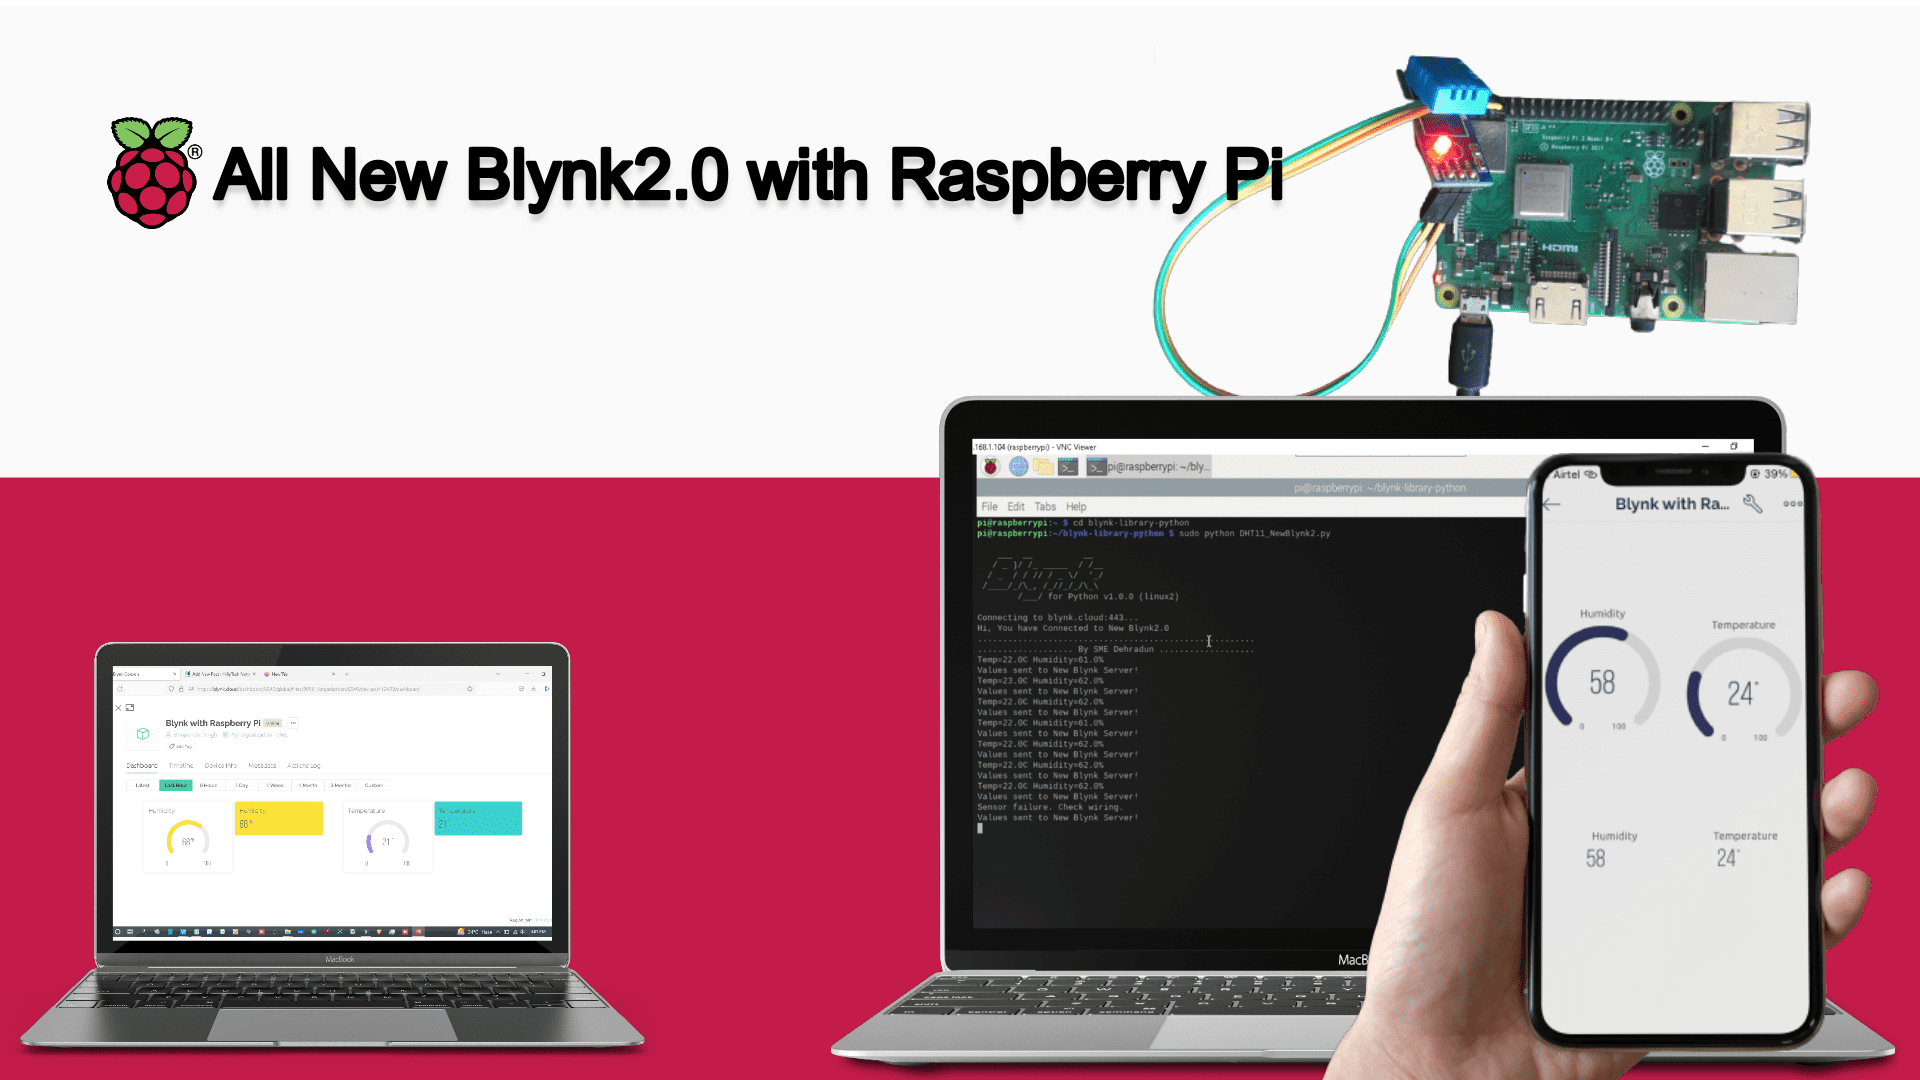
This tutorial will guide you how you can connect Raspberry Pi with New Blynk2.0 IoT App and Web Dashboard..
So connect the DHT11/DHT22 Sensor with Raspberry pi as per this circuit diagram.

Now, install the DHT sensor poython library in the Raspberry Pi through the below commands.
sudo pip3 install Adafruit_DHT
If you are getting any problem to install the DHT sensor library, Watch the complete video tutorials on “How to get Humidity and Temperature data to raspberry pi using DHT11 sensor”.
Once installed, then you need to install the New Blynk library through below command.
git clone https://github.com/vshymanskyy/blynk-library-python.git
After the installation of blynk library, you need to create the text file using TextEditor. So go to the Accessories and open the TextEditor. Copy the below code and paste in to the file.
Now, go to the Accessories and open the TextEditor. Copy the below code and paste in to the file.
After that, save this file in the inside the Blynk Library folder with name as DHT11_NewBlynk2.py
"""
This Code is belong to SME Dehraun. for any query write to schematicslab@gmail.com

"""

import BlynkLib
import RPi.GPIO as GPIO
from BlynkTimer import BlynkTimer

import Adafruit_DHT
import time

DHT_SENSOR = Adafruit_DHT.DHT11
DHT_PIN = 4
#BLYNK_AUTH_TOKEN = 'kt85ldXRL362juNQiymMClUUxdsuygTN'
BLYNK_AUTH_TOKEN = 'jsfpl_ACPJIVDdkFJ9THE5PkCVvYR8FS'

# Initialize Blynk
blynk = BlynkLib.Blynk(BLYNK_AUTH_TOKEN)

# Create BlynkTimer Instance
timer = BlynkTimer()


# function to sync the data from virtual pins
@blynk.on("connected")
def blynk_connected():
    print("Hi, You have Connected to New Blynk2.0")
    print(".......................................................")
    print("................... By SME Dehradun ...................")
    time.sleep(2);

# Functon for collect data from sensor & send it to Server
def myData():
    humidity, temperature = Adafruit_DHT.read(DHT_SENSOR, DHT_PIN)
    if humidity is not None and temperature is not None:
        print("Temp={0:0.1f}C Humidity={1:0.1f}%".format(temperature, humidity))
    else:
        print("Sensor failure. Check wiring.");

    blynk.virtual_write(0, humidity,)
    blynk.virtual_write(1, temperature)
    print("Values sent to New Blynk Server!")

timer.set_interval(2, myData)


while True:
    blynk.run()
    timer.run()
So we have successfully save our program. Now time to run the program in the Terminal and send the Humidity & Temperature values to New Blynk2.0 IoT app and Web Dashboard.
So run the following command to run the program.
cd blynk-library-python
sudo python DHT11_NewBlynk2.py
After running the command, You will get the output in the serial like this.

Now you can see the humidity and Temperature Values in the New Blynk Web Dashboard like this.

You can also see the data in New Blynk Mobile App.

Watch the Video Tutorial- How to connect the Raspberry with New Blynk2.0.