Fundamental Requirements:
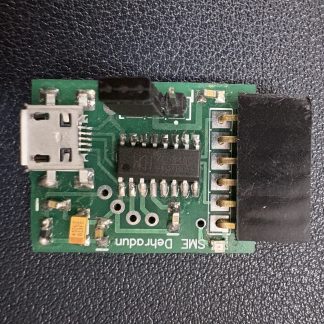
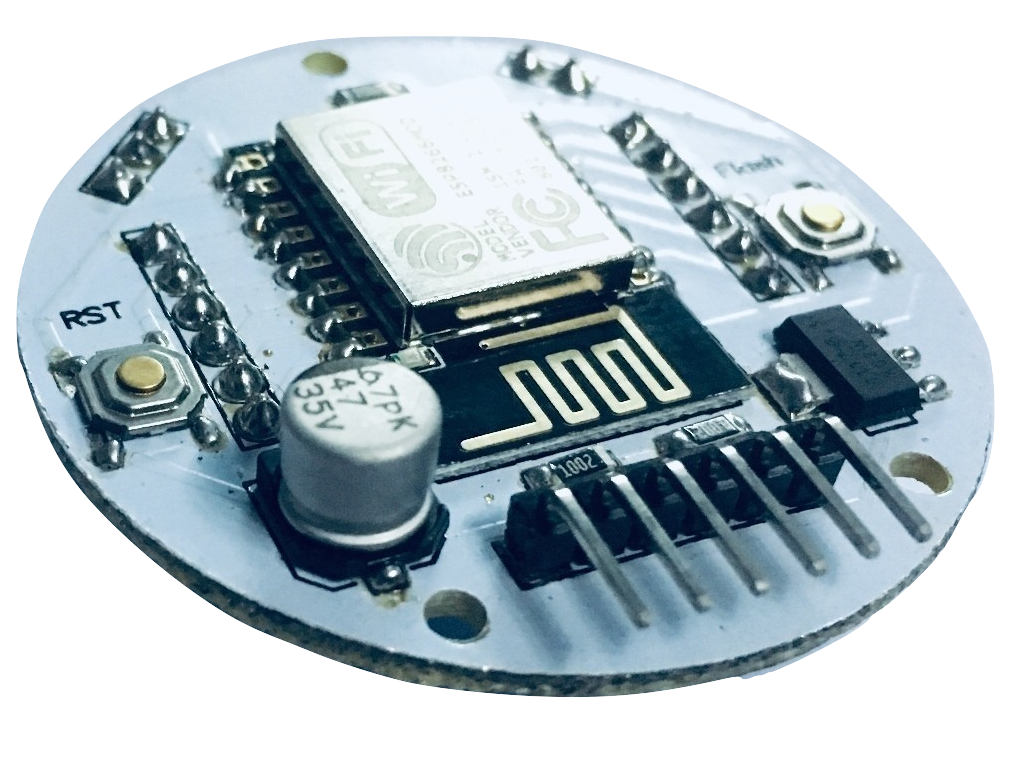
To Start with NUTTYFI, You have to NUTTYFI IOT Device & FTDI USB to UART Bridge.
- If you have any trouble with FTDI drivers, You can visit to our post how to install FTDI USB to UART Bridge Driver.
- You don’t know how to install NUTTYFI board in Arduino Ide, visit to our post How to install NUTTYFI IoT Board in Arduino ide.
After that Connect NUTTYFI to your Computer using FTDI USB to UART Bridge & got to tools -> boards-> NodeMCU 1.0(ESP-12E Module & Select the Port like COM3.
after that copy these code (codes given below) to your arduino IDE & compile & upload to NUTTYFI & all done.
Download:
Examples-
- How to Blink LED using NUTTYFI?
/**************************************NUTTYFI****************************/
// connect LED Positive pin at D6 of NUTTYFI. Connect Negative pin of LED to GND at NUTTYFI.
const int led = D6;
void setup() {
pinMode(led, OUTPUT); // initialize digital pin 'led' as an output.
}
// the loop function runs over and over again forever
void loop() {
digitalWrite(led, HIGH); // turn the LED on (HIGH is the voltage level)
delay(1000); // wait for a second
digitalWrite(led, LOW); // turn the LED off by making the voltage LOW
delay(1000); // wait for a second
}
/*********************************************************/
- How to interface LCD 20×4 LCD with NUTTYFI?
/**************************************NUTTYFI****************************/
// include the library code:
#include <LiquidCrystal.h>

// initialize the library with the numbers of the interface pins
LiquidCrystal lcd(D2, D3, D4, D5, D6, D7);

void setup() {
// set up the LCD's number of columns and rows:
lcd.begin(16, 2);
// Set the cursor
lcd.setCursor(0, 0);
// Print a message to the LCD.
lcd.print("Hi! Welcome");
}

void loop() {

lcd.setCursor(0, 1);
lcd.print("to NUTTYFI");
lcd.setCursor(12, 1);
lcd.print(millis() / 1000);
}
/*********************************************************/
- How to send LM35 Temperature Sensor Data to thingspeak icloud Website using NUTTYFI?
/*********************************NUTTYFI*********************************/

#include <ESP8266WiFi.h>
String apiKey = "Z55PHKYMUB0QTTE5"; //Change your 'Write API Key' of your thingspeak channel
const char* ssid = "NUTTYFI"; // Change your hotspot/ wifi name here
const char* password = "NUTTYFI@123"; // Change your wifi/ hotspot password
const char* server = "api.thingspeak.com";
WiFiClient client;

const int temp=A0; // Connect your LM35 temperature sensor AOUT pin TO A0 Pin of NUTTYFI.
int LM35_data=0;
String inputString_NODEMCU = "";

void setup()
{
Serial.begin(9600); // Serial Begin at 9600 Baud Rate
delay(3000);
WiFi.begin(ssid, password);
Serial.println();
Serial.println();
Serial.print("Connecting to ");
Serial.println(ssid);
WiFi.begin(ssid, password);
while (WiFi.status() != WL_CONNECTED)
{
delay(500);
Serial.print(".");
}
Serial.println("");
Serial.println("WiFi connected");
}

void loop()
{
// as LM35 sensor gives 10mV Scale Factor to change in one Degree Centegrade,double as compare to Arduino
LM35_data=analogRead(temp)/2;
if (client.connect(server,80))
{
String postStr = apiKey;
postStr +="&field1=";
postStr += String(LM35_data);
postStr += "\r\n\r\n";

client.print("POST /update HTTP/1.1\n");
client.print("Host: api.thingspeak.com\n");
client.print("Connection: close\n");
client.print("X-THINGSPEAKAPIKEY: "+apiKey+"\n");
client.print("Content-Type: application/x-www-form-urlencoded\n");
client.print("Content-Length: ");
client.print(postStr.length());
client.print("\n\n");
client.print(postStr);

Serial.print("Field-1: ");
Serial.print(LM35_data);
Serial.println(" data send");


}
client.stop();
Serial.println("Waiting");
delay(400);// thingspeak needs minimum 15 sec delay between updates

}
/*********************************************************/
- How to send Ultrasonic Sensor Data to Thingspeak icloud website using NUTTYFI?
/***************************NUTTYFI***************************************/
#include <SoftwareSerial.h>
#include <ESP8266WiFi.h>

String apiKey = "Z55PHKYMUB0QTTE5"; //Change your 'Write API Key' of your thingspeak channel
const char* ssid = "NUTTYFI"; // Change your hotspot/ wifi name here
const char* password = "NUTTYFI@123"; // Change your wifi/ hotspot password
const char* server = "api.thingspeak.com";
WiFiClient client;

const int trigPin = D6;
const int echoPin = D7;
// defines variables
long duration;
int distance;

void setup()
{
Serial.begin(9600);
delay(10);
pinMode(trigPin, OUTPUT); // Sets the trigPin as an Output
pinMode(echoPin, INPUT); // Sets the echoPin as an Input
WiFi.begin(ssid, password);
Serial.println();
Serial.println();
Serial.print("Connecting to ");
Serial.println(ssid);

WiFi.begin(ssid, password);

while (WiFi.status() != WL_CONNECTED)
{
delay(500);
Serial.print(".");
}
Serial.println("");
Serial.println("WiFi connected");
}

void loop()
{
void Ultra_NUTTYFI();
if (client.connect(server,80))
{
NUTTYFI_Ultrasonic_POST();
}
client.stop();
Serial.println("Waiting");
delay(1000);// thingspeak needs minimum 15 sec delay between updates

}

void Ultra_NUTTYFI()
{
digitalWrite(trigPin, LOW);
delayMicroseconds(2);
digitalWrite(trigPin, HIGH);// Sets the trigPin on HIGH state for 10 micro seconds
delayMicroseconds(10);
digitalWrite(trigPin, LOW);
duration = pulseIn(echoPin, HIGH); // Reads the echoPin, returns the sound wave travel time in microseconds
distance= duration*0.034/2; // Calculating the distance
Serial.print("Distance: ");// Prints the distance on the Serial Monitor
Serial.println(distance);
}
void NUTTYFI_Ultrasonic_POST()
{
String postStr = apiKey;
postStr +="&field1=";
postStr += String(distance);
postStr += "\r\n\r\n";

client.print("POST /update HTTP/1.1\n");
client.print("Host: api.thingspeak.com\n");
client.print("Connection: close\n");
client.print("X-THINGSPEAKAPIKEY: "+apiKey+"\n");
client.print("Content-Type: application/x-www-form-urlencoded\n");
client.print("Content-Length: ");
client.print(postStr.length());
client.print("\n\n");
client.print(postStr);

Serial.print("Send data to channel-1 ");
Serial.print("Content-Length: ");
Serial.print(postStr.length());
Serial.print("Field-1: ");
Serial.print(distance);
Serial.println(" data send");

}
class="brush: cpp">
/*********************************************************/